Deploy to Cloud Run
Yo’re finally ready to deploy the application! You can do this from the Cloud Shell Editor.
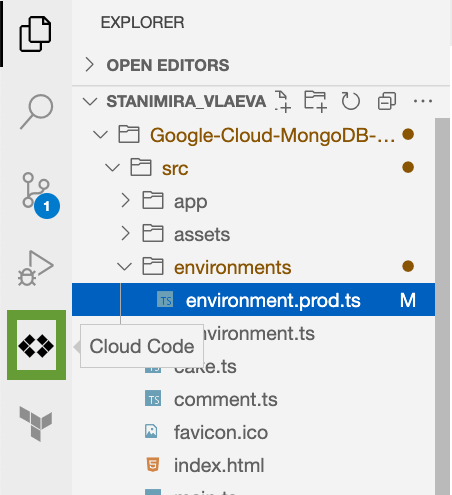
Select the Cloud Code extension on the left sidebar.
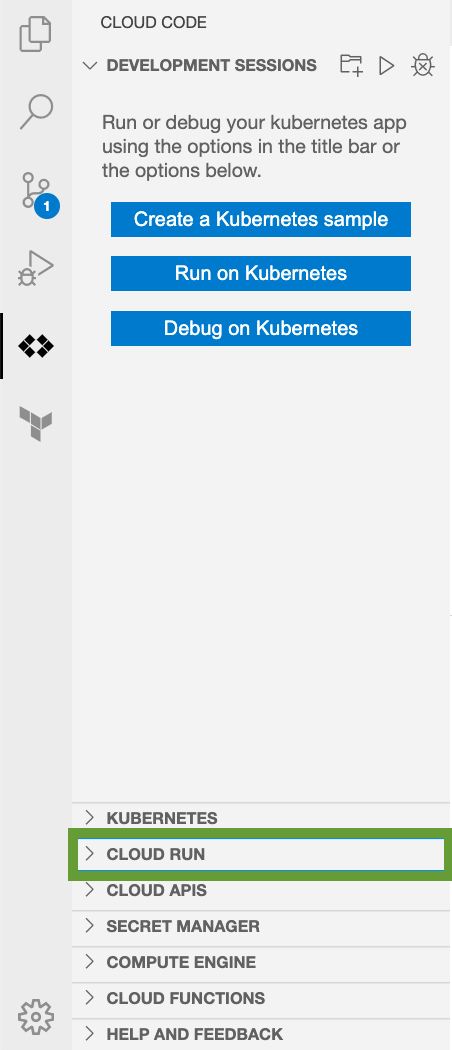
Expand the Cloud Run section.
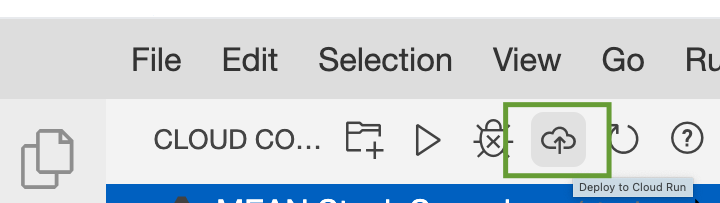
Click the Deploy to Cloud Run icon.
Enter the following configuration settings for your service:
- Service Settings: Create a service
- Service name: bakery-web-app
- Deployment platform: Cloud Run (fully managed)
- Region: closest to your physical location
- Authentication: Allow unauthenticated invocations
For the Build environment, select Local Build.
Finally, in the Build Settings section, select:
- Builder: Docker
- Docker: Google-Cloud-MongoDB-Atlas-Workshop/Dockerfile
Click the Deploy button and wait as your app is being deployed to the cloud! This can take a few minutes. You can expand the process output by clicking on the Show Detailed Logs button.
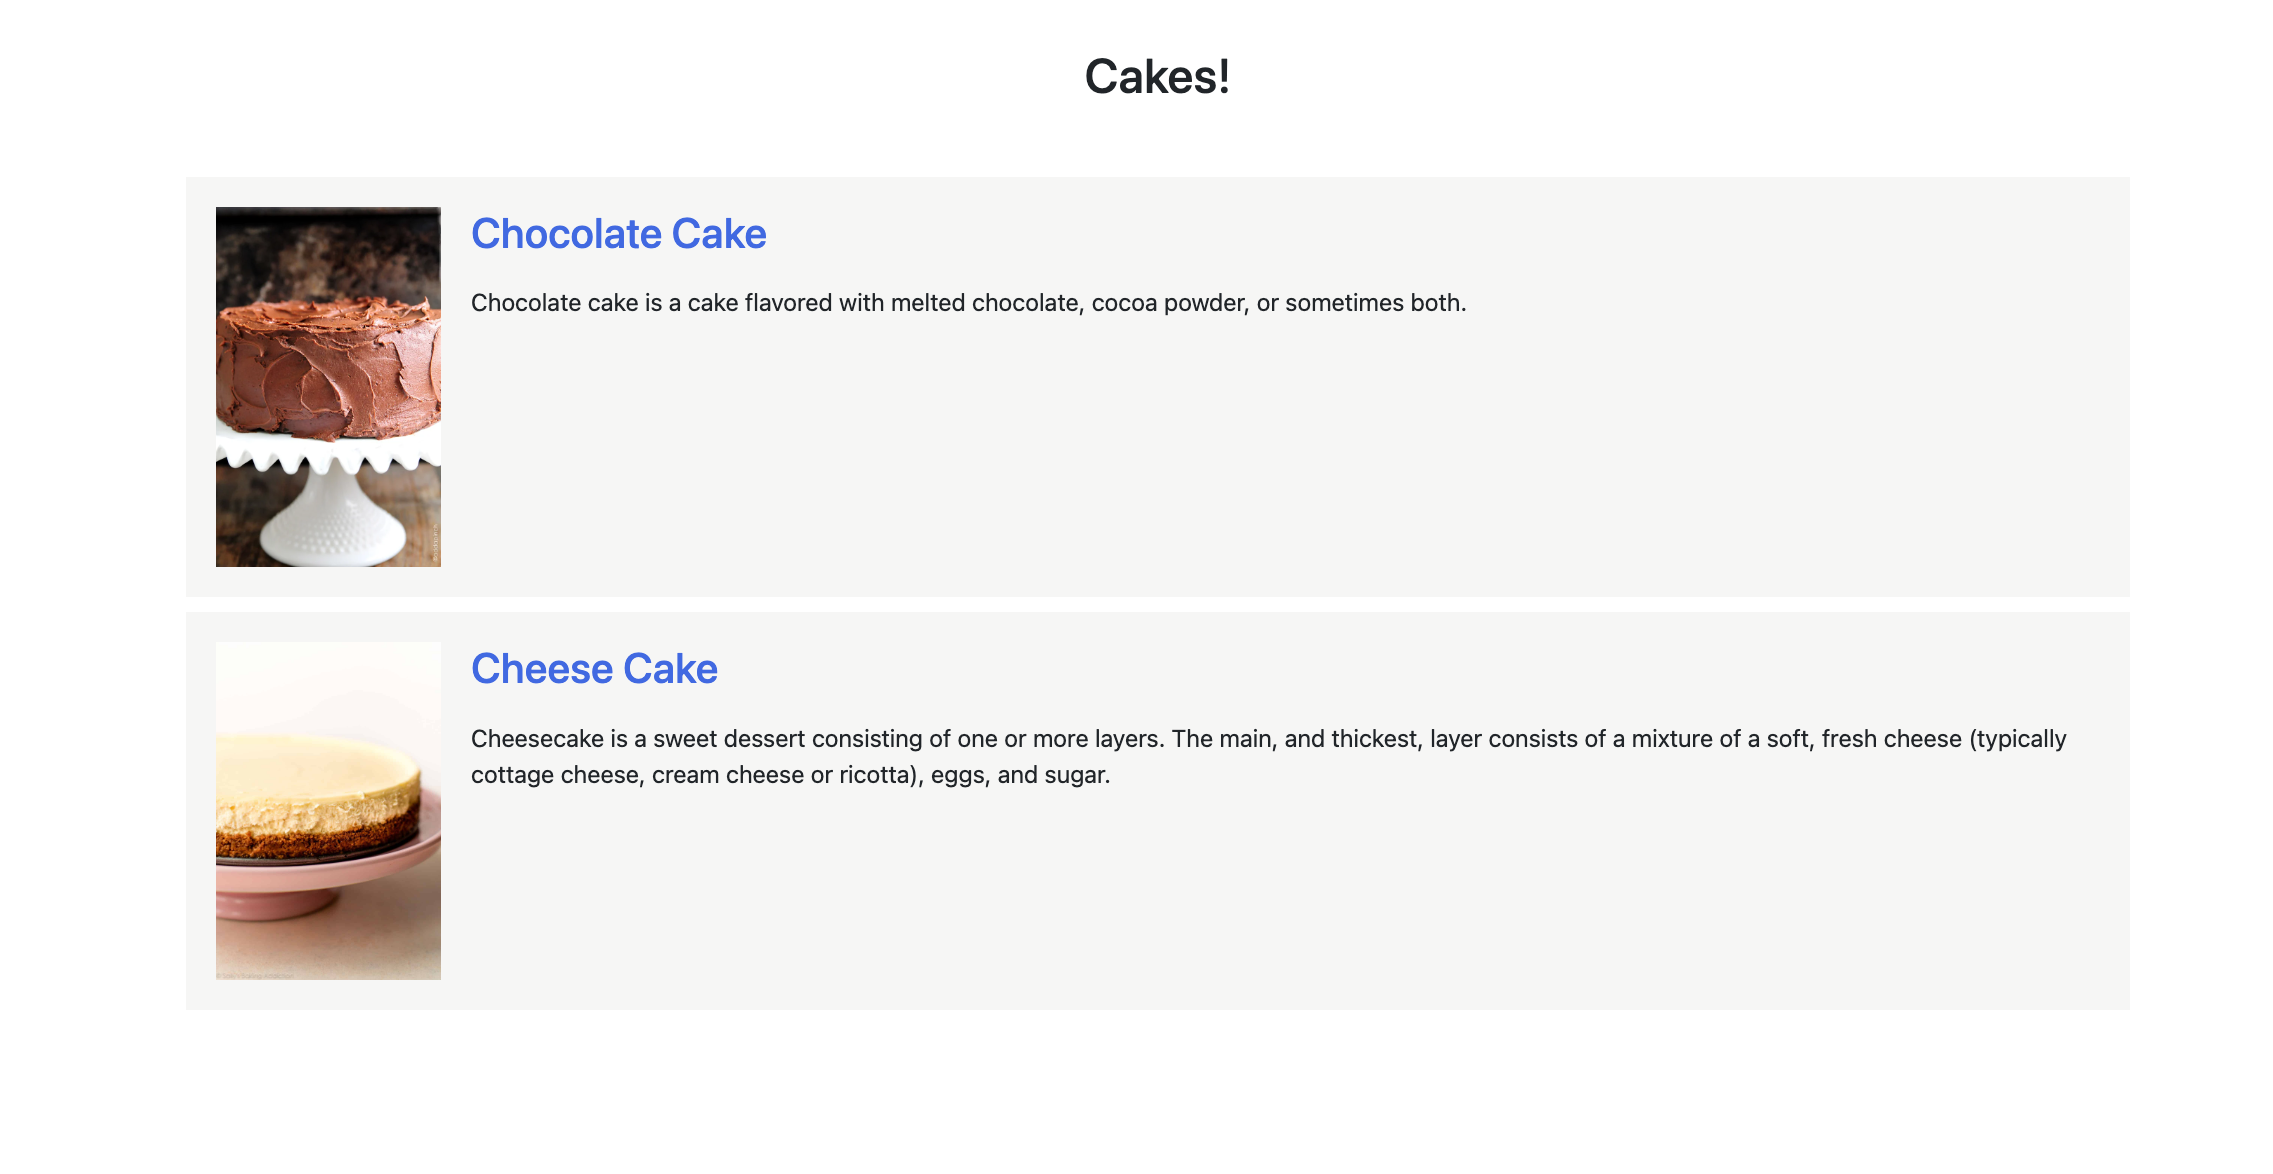
When the deployment is complete, you will see the URL for your application. Click it and you will see the bakery application displaying a list of the cakes in your Atlas database.

Great job! You have just deployed a web application to a serverless cloud service!