Create an Atlas GraphQL API
In this section, you are going to set up with your first Atlas App Services backend, ready for using GraphQL.
Get started with Atlas App Services
Start by navigating to the App Services tab.

You will be prompted to select a starter template. Select the Build your own App and click the Next button.
The platform should automatically create your first application for you. If you have pre-existing applications in your project, you might be prompted to fill in additional configuration settings for your app. If you see the extra configuration prompt, fill in the following:
- Data Source: Since you have just one cluster, Atlas has already linked it to the application.
- Application Name: Give the application a meaningful name such as Bakery.
- App Deployment Model: Make sure the deployment is set to Single Region and select the region closest to your physical location.
Configure data access rules
Next, you will set up rules to control the app’s access to data.
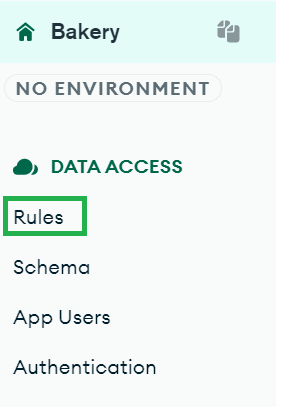
At the end of the previous section, after creating your application, it will have taken you to it in your browser. On the left, under the Data Access heading, select Rules.
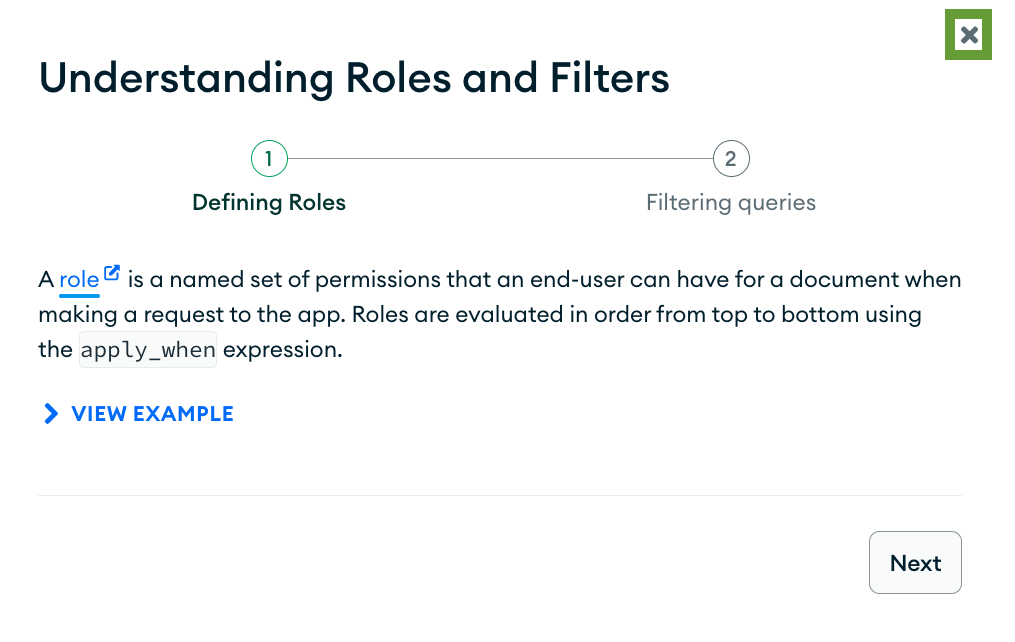
You will see a helper popup, explaining how Roles and Filters in App Services work. Read through it and close it.
You need to create two rules — one for each collections.
- Select the cakes collection, select the readAll preset, and then click Add preset role.
- A popup will appear talking about Save and Deploy. Read it and close it.
Select the comments collection from the left, and this time, apply the readAndWriteAll rule. Click Add preset role.
Since you have made changes to the app by adding these rules, you need to deploy those changes. This Review Draft & Deploy step is on by default, to protect you from making changes unintentionally.
- Click the Review Draft & Deploy button in the blue banner across the top of your screen.
- This will show the rules you have created, as the system has added them into a new
rules.jsonfile. Scroll down to the bottom of the window and click Deploy.
Generate a schema
GraphQL requires a strongly-typed schema. In this section, you will generate a schema for both the cakes and comments collections.
Click Schema on the left, just below where you clicked Rules in Step 1 of the last section.
Select the cakes collection. and click Define a Schema.
App Services will see that you already have data that it can generate a schema from, so go ahead and click Generate schema from sampling.
A JSON schema will be generated, matching the field names to their data types. At the top of the browser window, click Save Draft to save this new schema.
Scroll up to the blue banner at the top and click Review Draft and Deploy. Scroll through the changes and click Deploy.
Now, you will create a schema for the comments collection. Select comments from the panel on the left and then, click Define a Schema.
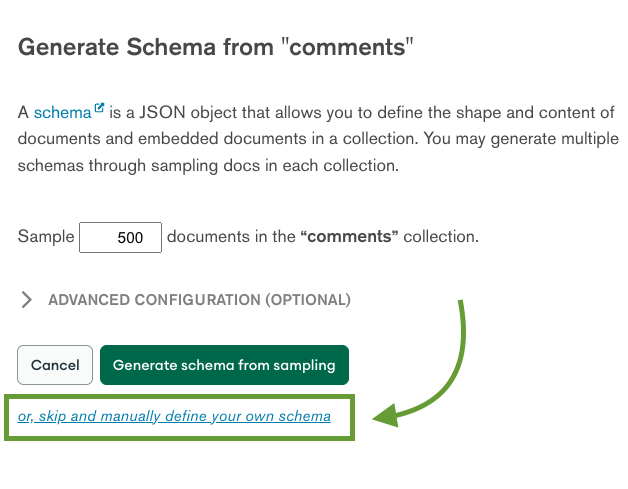
This time, you’ll write the schema instead of generating it. Click or, skip and manually define your own schema.
Delete the pre-filled content and paste the following JSON schema into the box.
{
    "title": "comment",
    "properties": {
        "_id": {
            "bsonType": "objectId"
        },
        "cakeId": {
            "bsonType": "objectId"
        },
        "name": {
            "bsonType": "string"
        },
        "text": {
            "bsonType": "string"
        },
        "date": {
            "bsonType": "date"
        }
    }
}
Click Save Draft to persist the change. Scroll up to the blue banner again and deploy the changes.
You now need to define a relationship between the two collections so that the comment document understands
cakeId. Click Add a relationship and set it to the following before clicking Add:- Parent Field: cakeId - objectId
- Linked Database: Bakery
- Linked Collection: cakes
- Linked Field: _id - objectId
If you see the following error while adding a relationship, you might have forgotten to save your schema draft:
You must define a schema with a valid properties object for this collection before adding a relationship.
Locate the Save Draft button in the top right corner of the screen and click it to persist your schema.
- Click Save Draft to persist the relationship you just created. Then, click Review Draft & Deploy and deploy the change.
Query data with GraphQL
Now that you have the schemas in place, it’s time to run your first query to check it all works!
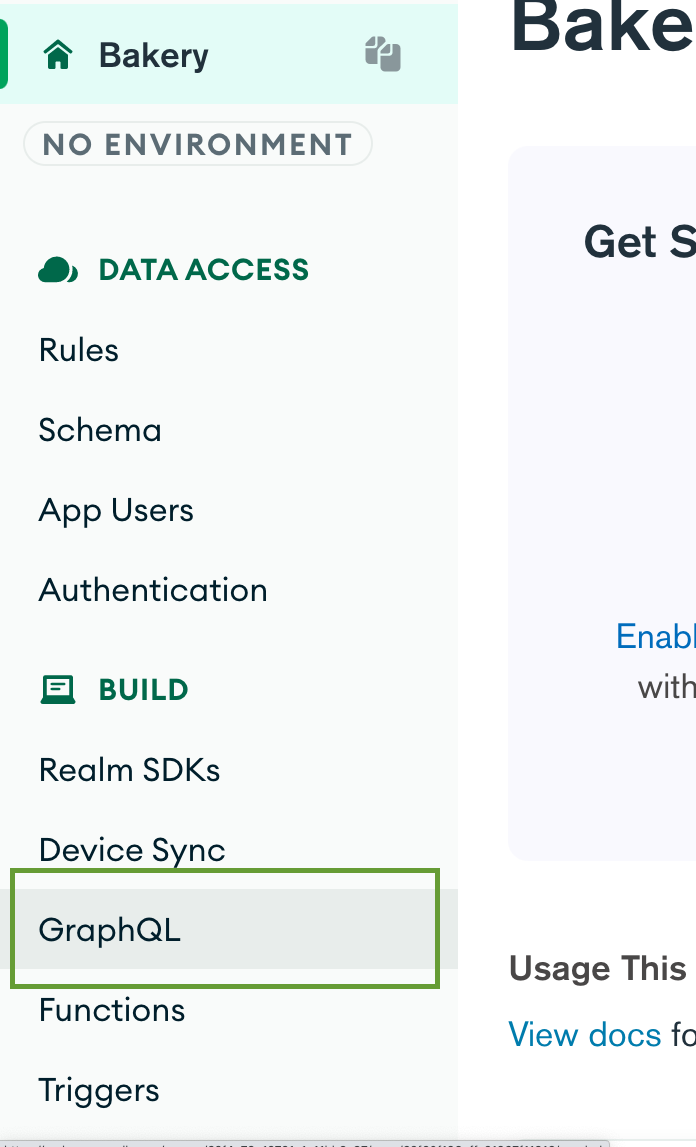
Click GraphQL from the left side menu, under the Build heading.
 info
infoYou see the GraphiQL editor (note the i after Graph). GraphiQL is an integrated development environment (IDE) for exploring GraphQL APIs.
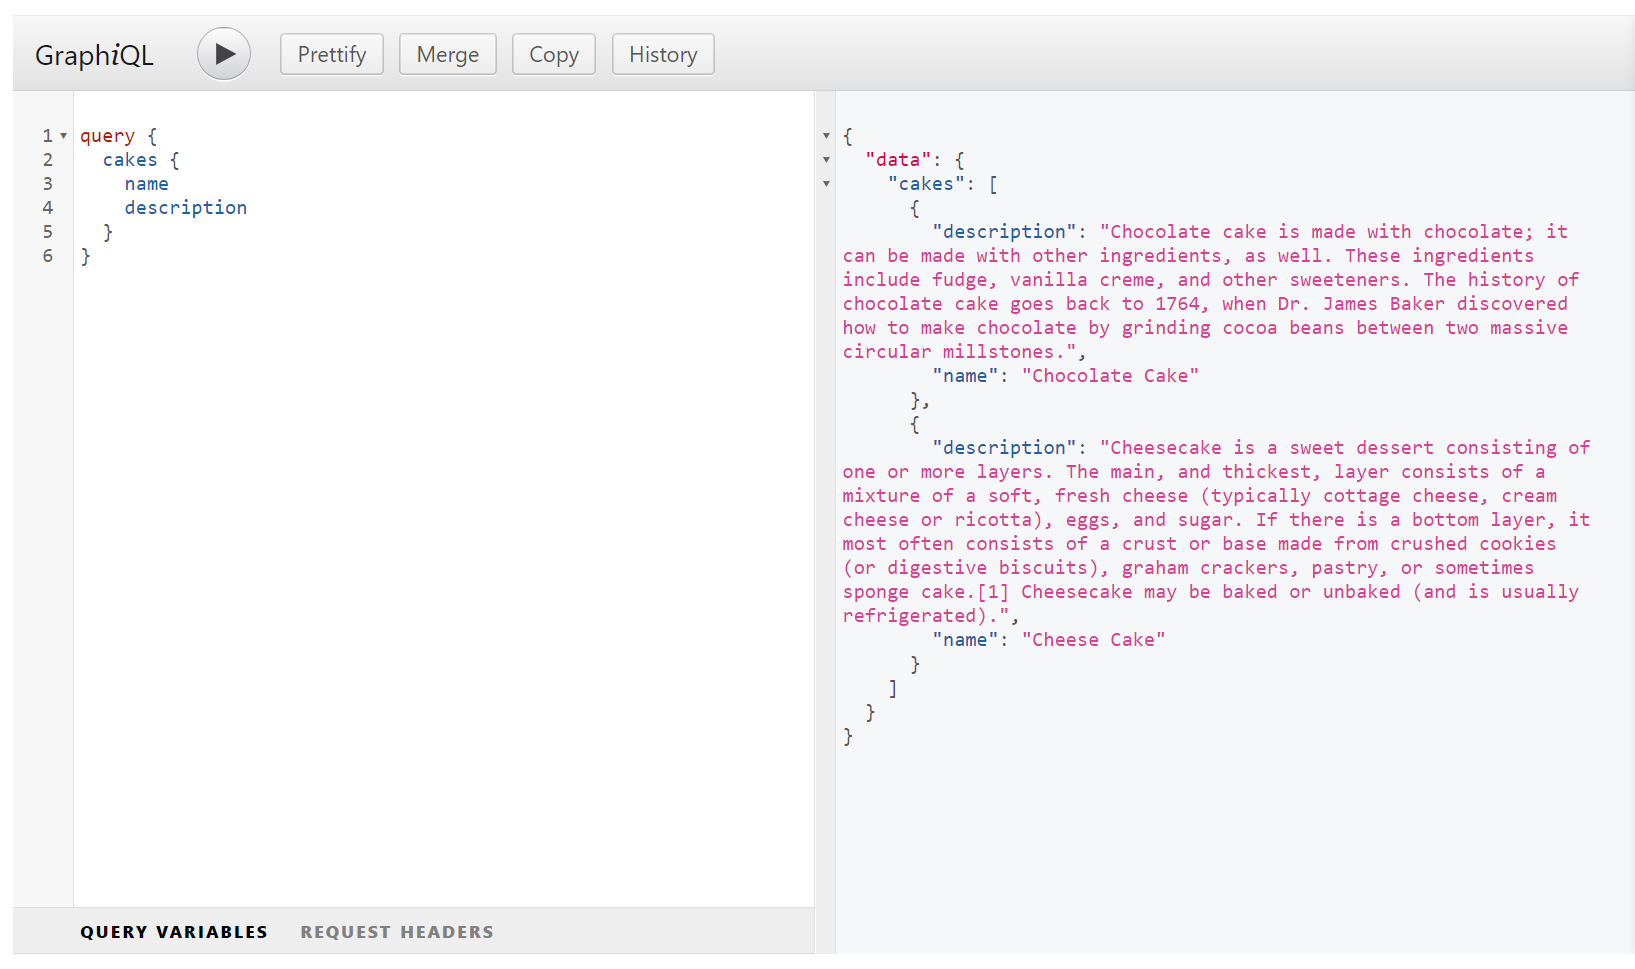
Replace the comments and sample query inside the editor with the following query, which requests the name and description from the cakes collection:
query {
    cakes {
        name
        description
    }
}
Click the execute button at the top to run your query, and see your cakes document returned on the right.
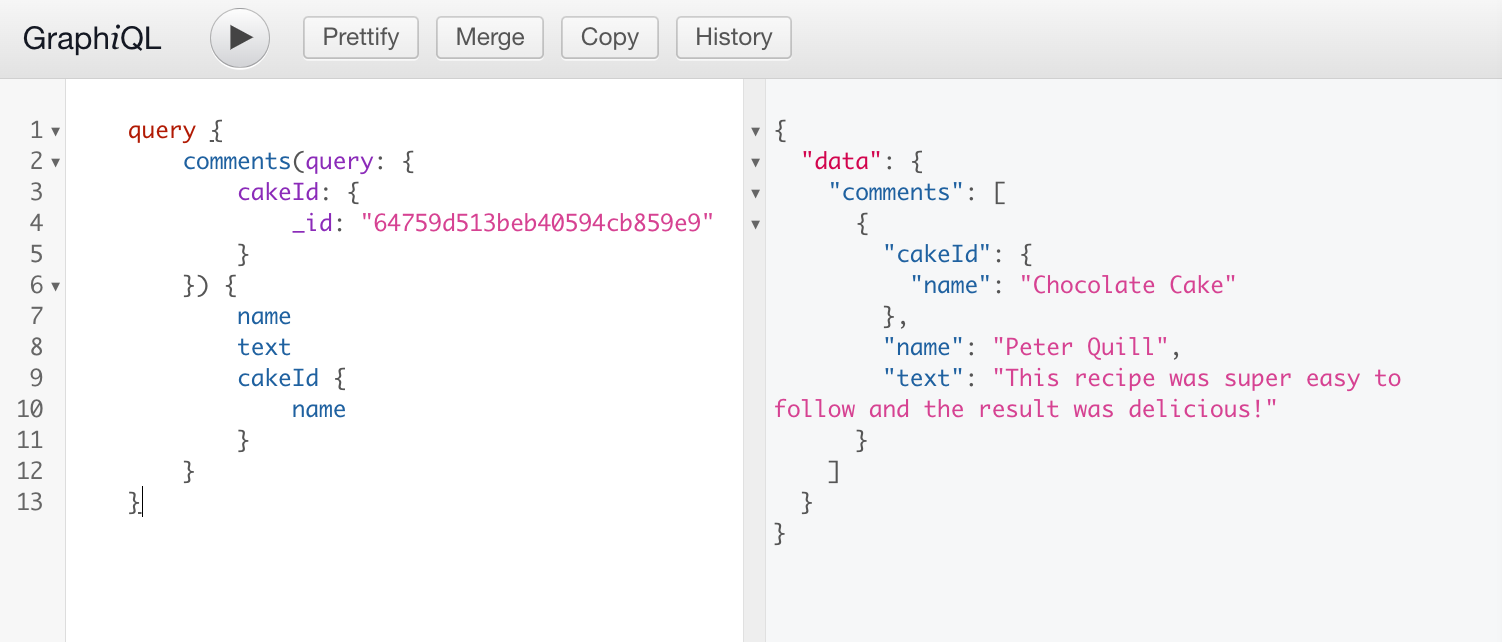
Let's try a query that looks for all comments associated with a specific
cakeId. Replace the query with the following and click the execute button again.query {
comments(query: {
cakeId: {
_id: "64759d513beb40594cb859e9"
}
}) {
name
text
cakeId {
name
}
}
}