Get Started with MongoDB Atlas
MongoDB Atlas is a developer data platform, integrating a multi-cloud database with a diverse set of data services. Atlas simplifies database deployment and management while enabling modern data-driven application development.
In this section, you will deploy your first MongoDB Atlas cluster.
Register a new Atlas account
Signing up for MongoDB Atlas is completely free and doesn't require a credit card. Use the link below to create your account:
Deploy a free cluster
It's time to deploy your first cluster in MongoDB Atlas.
You can choose from a range of cluster tiers offered by Atlas, starting from M0 and going up to M600. These tiers are designed to accommodate different workload requirements and scalability needs.
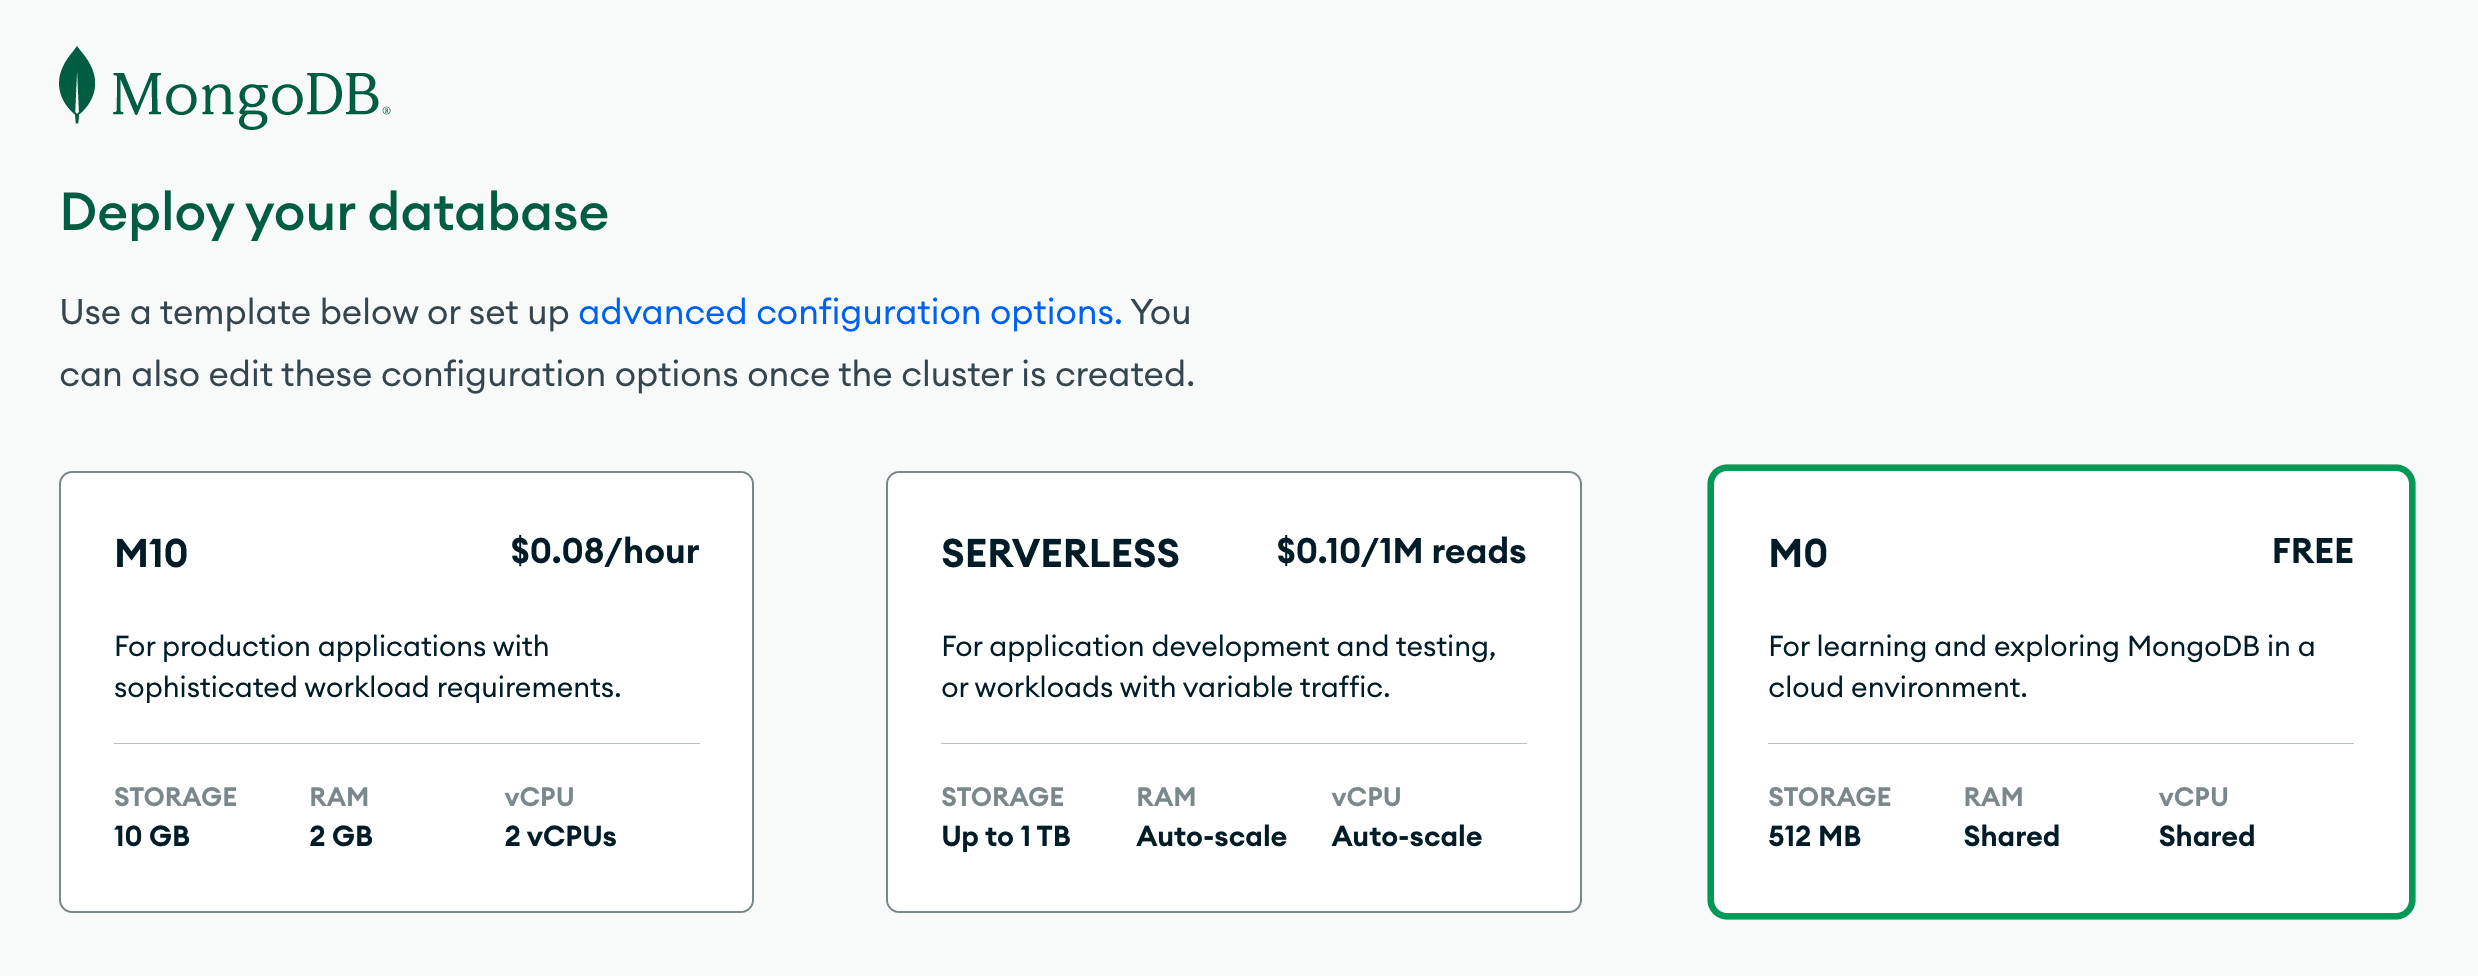
For this tutorial, you will be deploying a free shared cluster from the M0 tier. You can deploy one such cluster per project. The M0 cluster is designed for small-scale development and testing purposes, offering a limited amount of storage (512 MB) and performance capacity compared to higher-tier clusters. It will allow you to explore the features and capabilities of MongoDB Atlas without incurring any costs, making it a perfect choice for a hands-on tutorial.
You will deploy the cluster using the Atlas UI, so before starting, make sure you’re logged into your account.
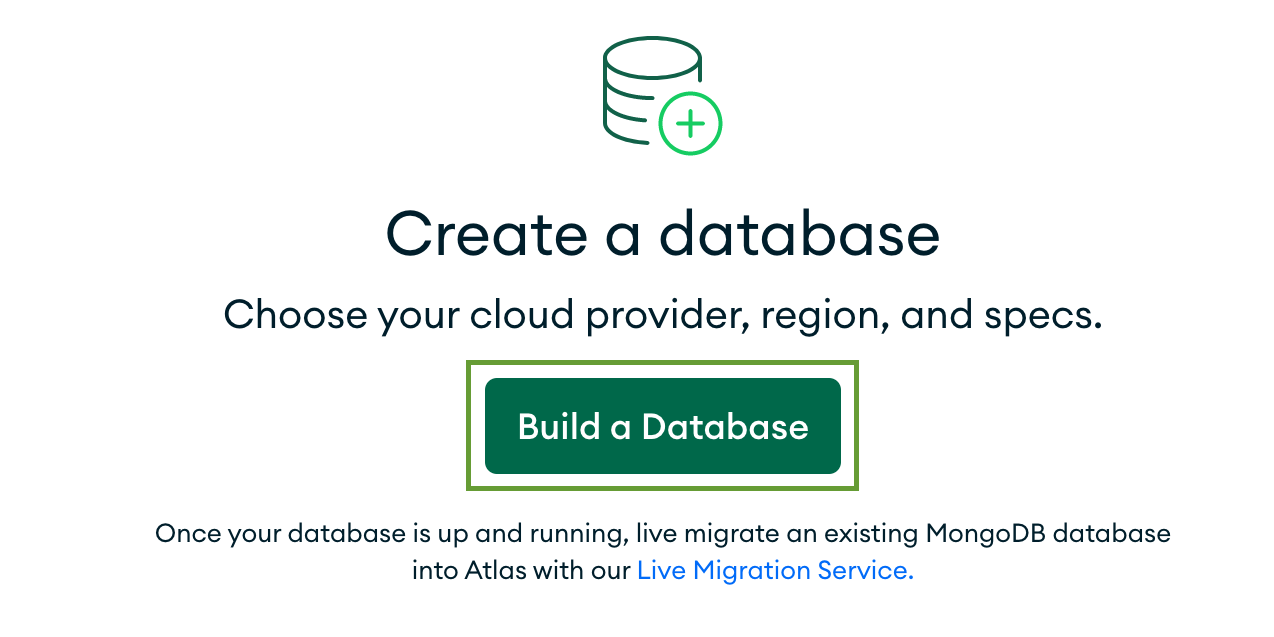
Click the Build a Database button.
Select the M0 free cluster tier.
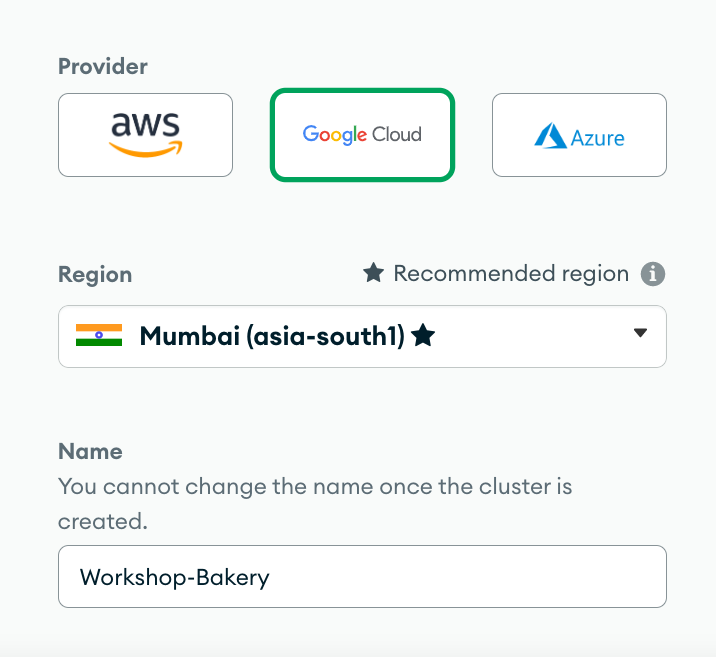
Select a cloud provider and the region closest to your physical location. Rename your cluster to Workshop-Bakery.
Click Create to deploy your cluster.
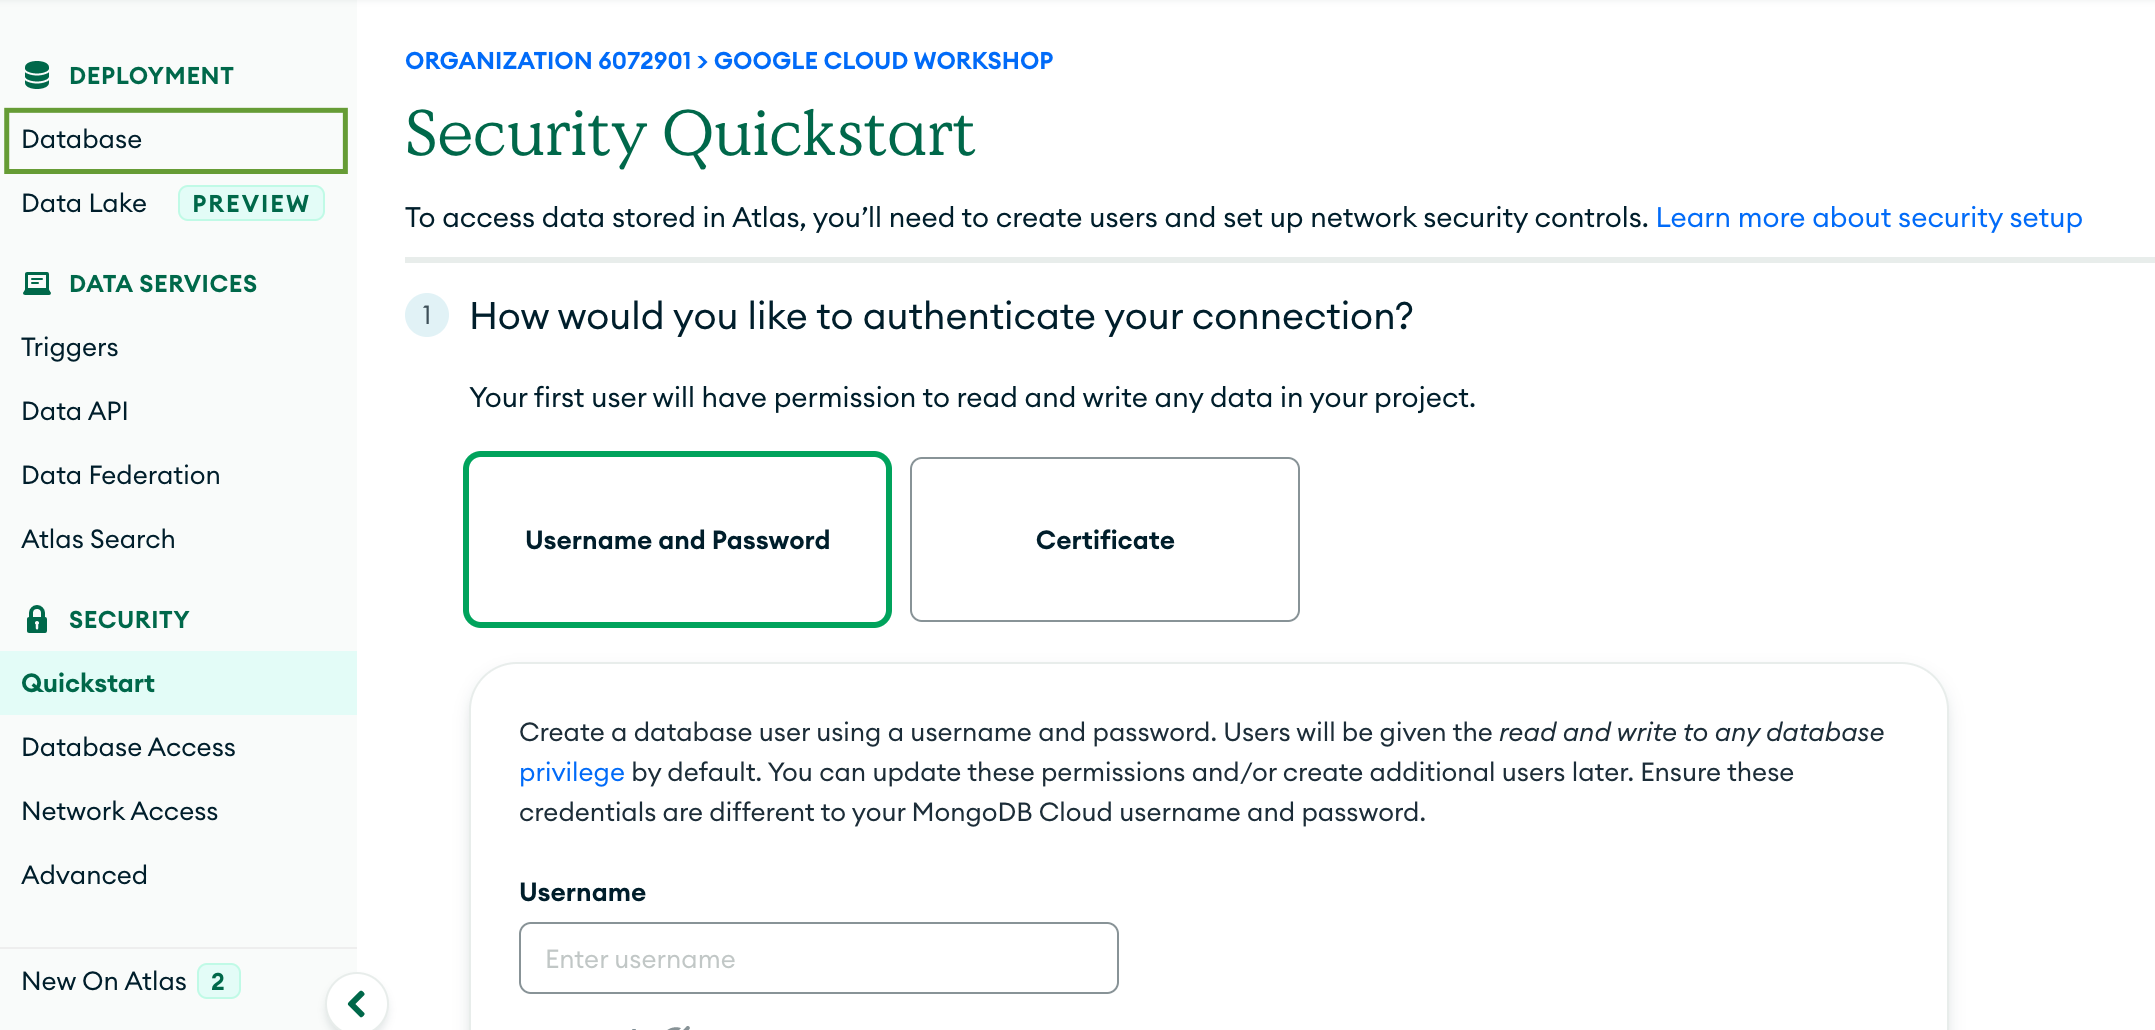
infoYour MongoDB Atlas database deployment is inherently secure and completely locked by default. To connect, you need to establish access credentials and configure network accessibility. However, in this tutorial, you will build a serverless backend powered by Atlas App Services, which will handle the connection to your database for you. As a result, you don't need to setup direct database access.
Go back to your database deployment by selecting Database from the left-hand menu.
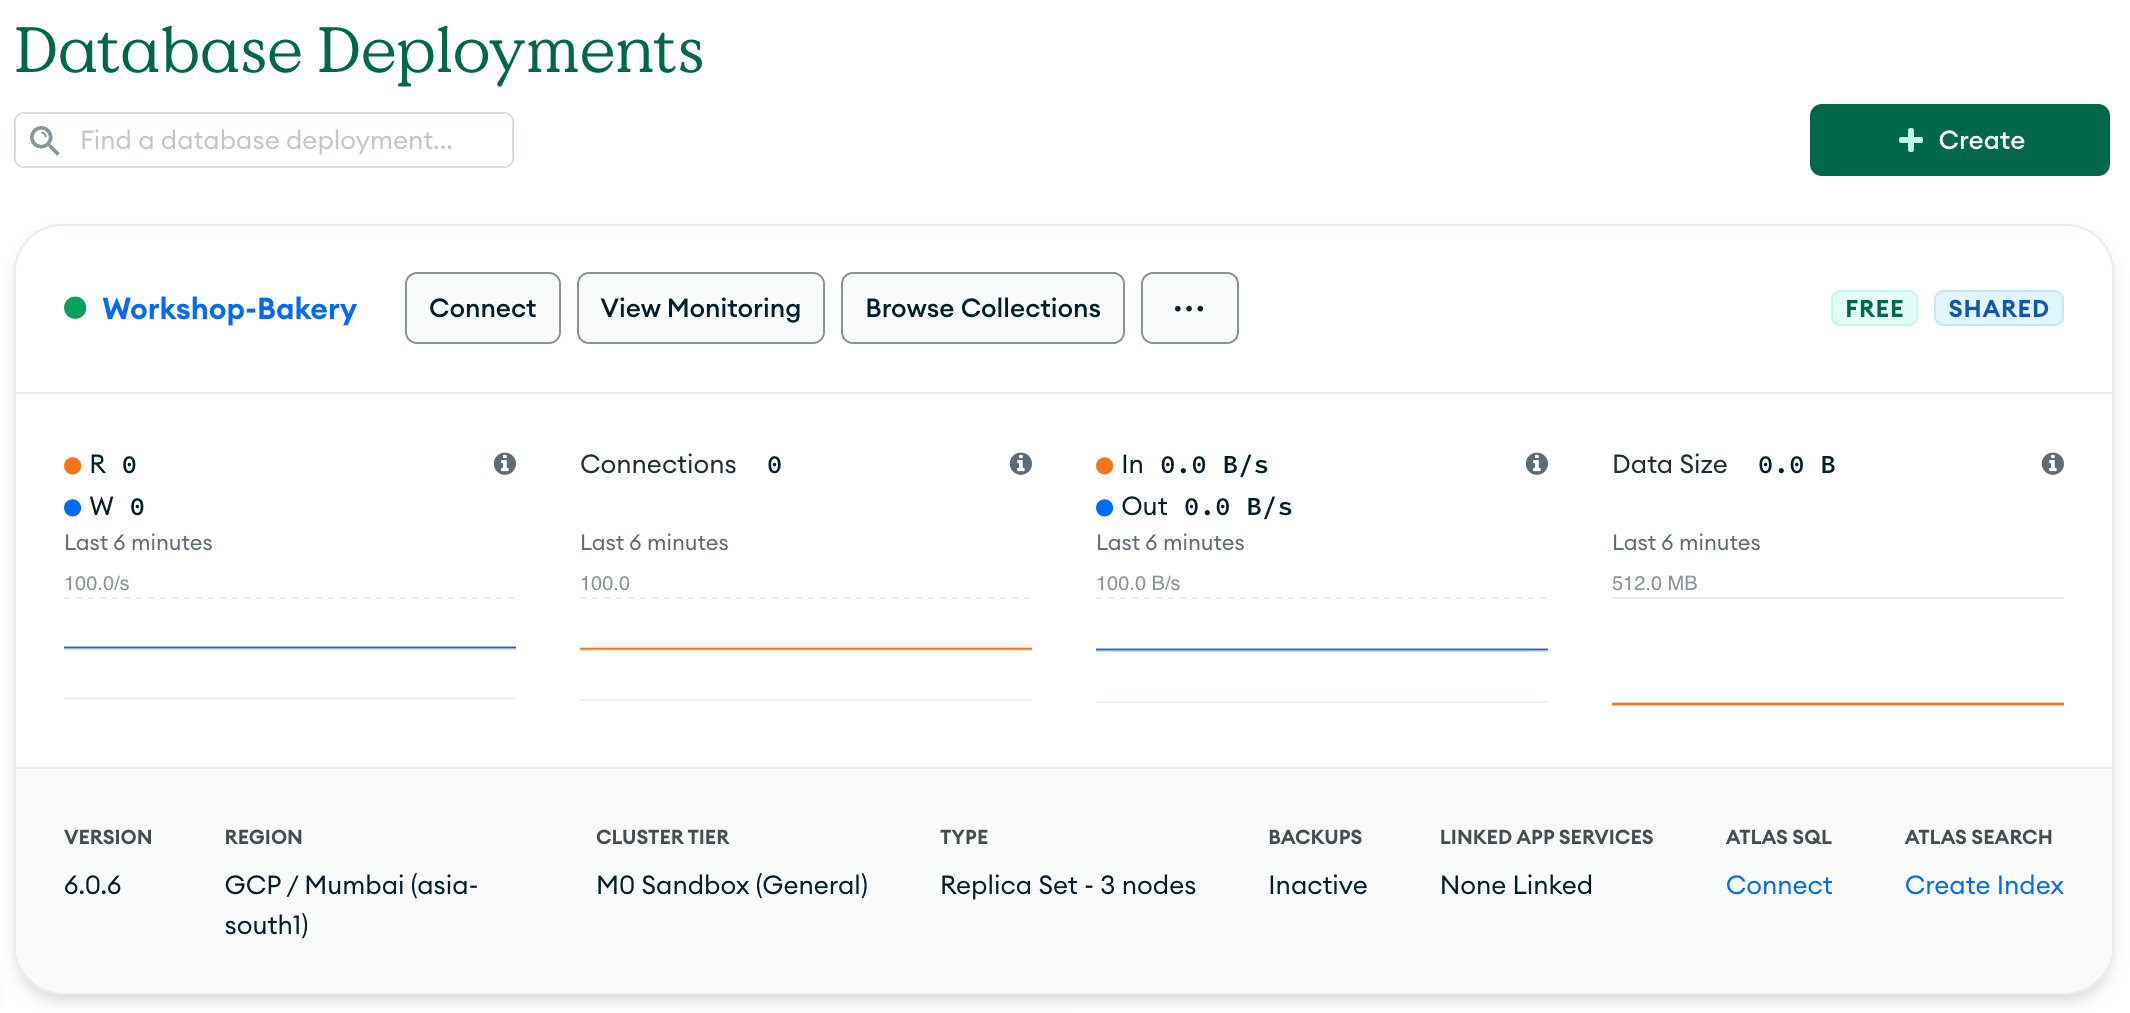
Creating the cluster may take a couple of minutes. Once the deployment is complete, you will see your first cluster in the list!
 note
noteYou have just deployed a free cluster using the Atlas UI. You can also deploy and manage Atlas deployments with the Atlas CLI.